Easy Homemade Crusty Bread Rolls Recipe
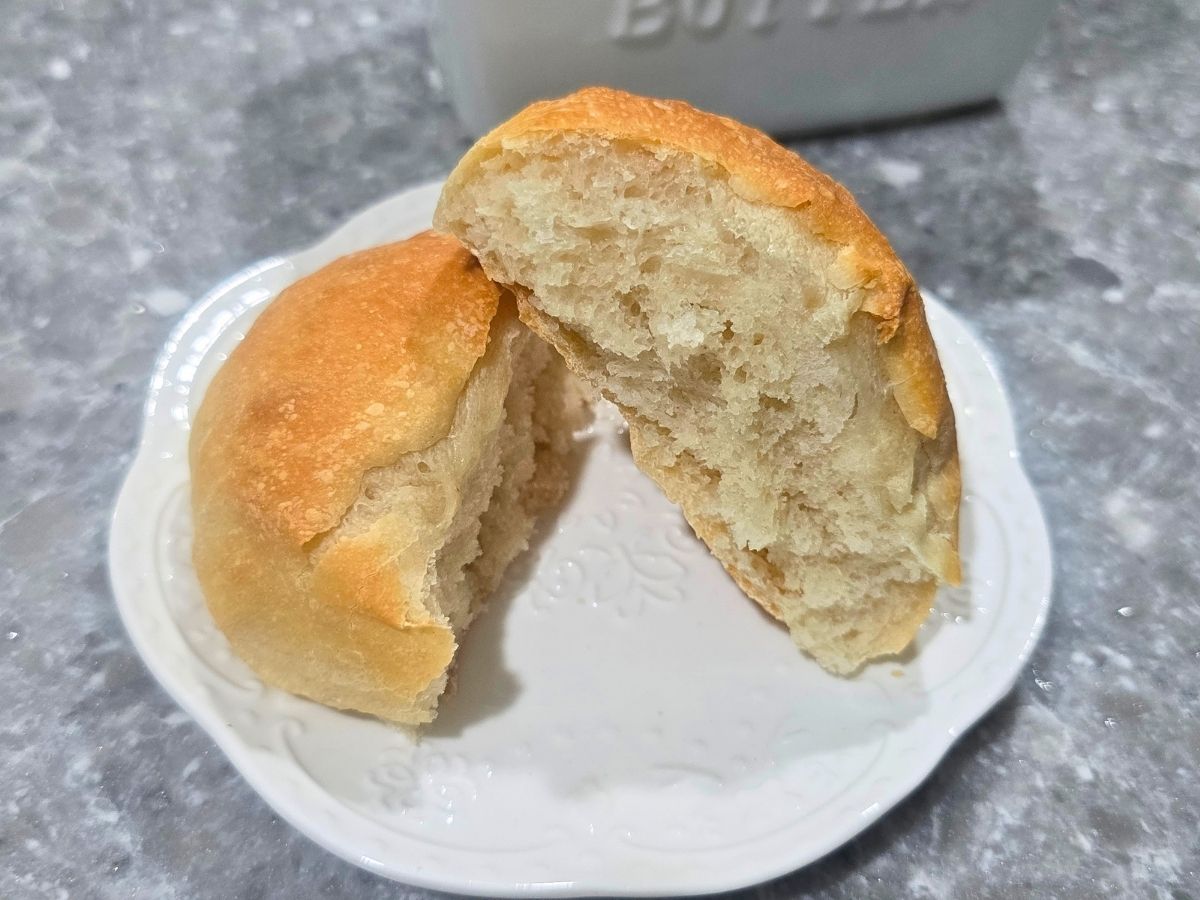
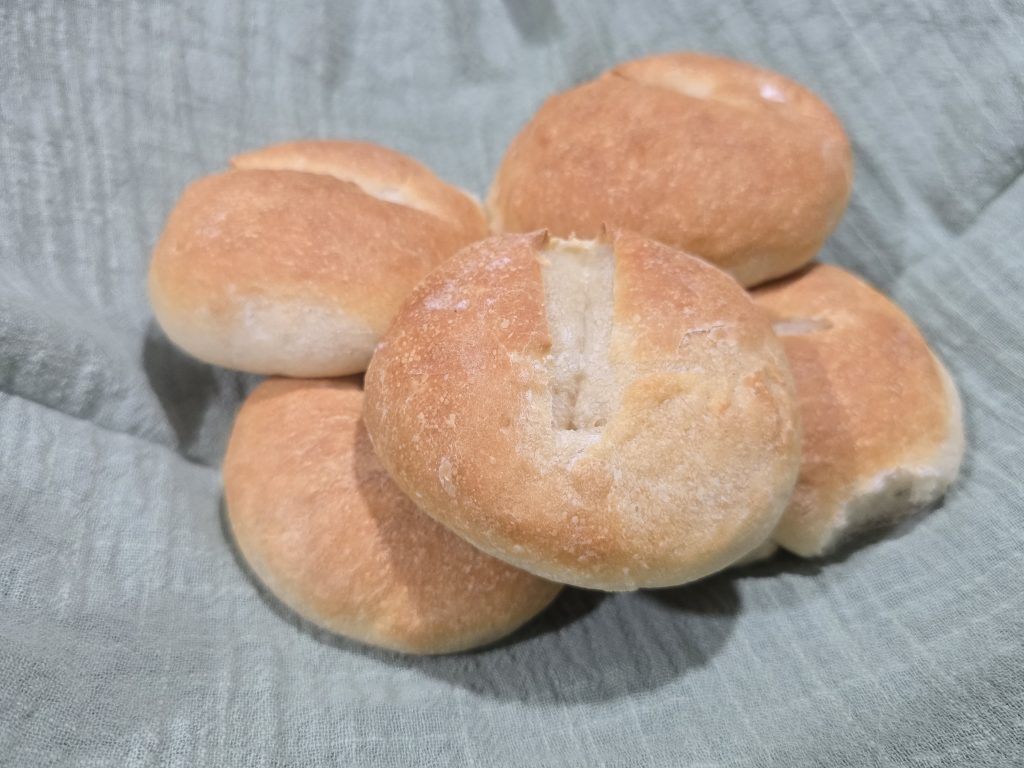
This crusty bread rolls recipe makes six homemade rolls with a beautifully golden crust and soft, fluffy centers. There’s nothing quite like pulling a tray of freshly baked bread out of the oven!
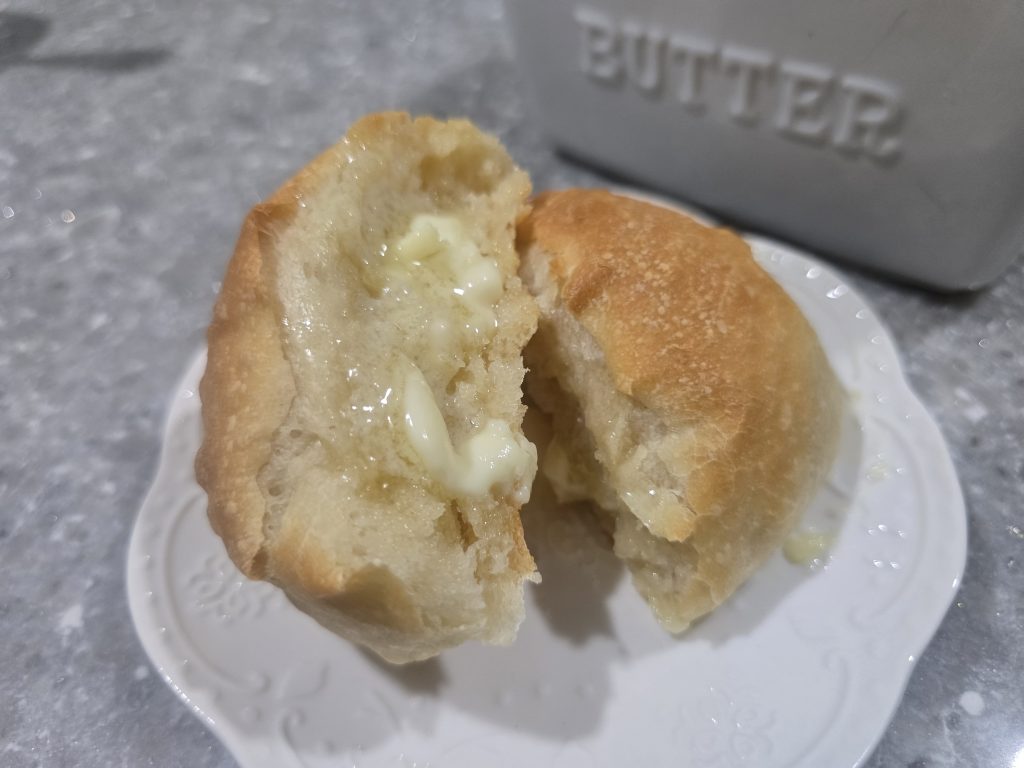
These homemade crusty rolls have a crispy exterior, soft and fluffy centers, and plenty of flavor. They’re perfect alongside a bowl of homemade soup, served with pasta, or simply split open and slathered with butter.
Best of all, you don’t need a bread machine or fancy equipment to make them.
Why You’ll Love These Homemade Crusty Rolls
- Crispy, golden crust: Steam during baking creates a beautiful crusty exterior.
- Soft, fluffy centers: The inside stays tender with just the right amount of chew.
- Simple ingredients: Basic pantry staples make delicious homemade bread.
- Versatile: Serve them with soups, stews, pasta, or your favorite sandwich fillings.
- Freezer-friendly: Make a batch now and save the extras for another meal.
Ingredients for Homemade Crusty Bread Rolls
One of the best things about this crusty bread rolls recipe is that you don’t need a long list of ingredients.
Flour: All-purpose flour works well for homemade rolls, while bread flour produces a slightly chewier texture because of its higher protein content. If you’re new to baking with yeast, King Arthur Baking is a great resource for learning more about bread flour and dough techniques.
Yeast: Instant yeast is convenient because it can be mixed directly with the dry ingredients. If you’re using active dry yeast instead, follow the package directions for activating it in warm water.
Water: Warm water helps hydrate the flour and encourages yeast activity. Avoid using water that’s too hot, which can damage the yeast.
Salt: Salt adds flavor and helps strengthen the dough’s gluten structure.
The exact measurements are in the printable recipe card below.
How to Make This Crusty Bread Rolls Recipe
Step 1: Mix the Dough
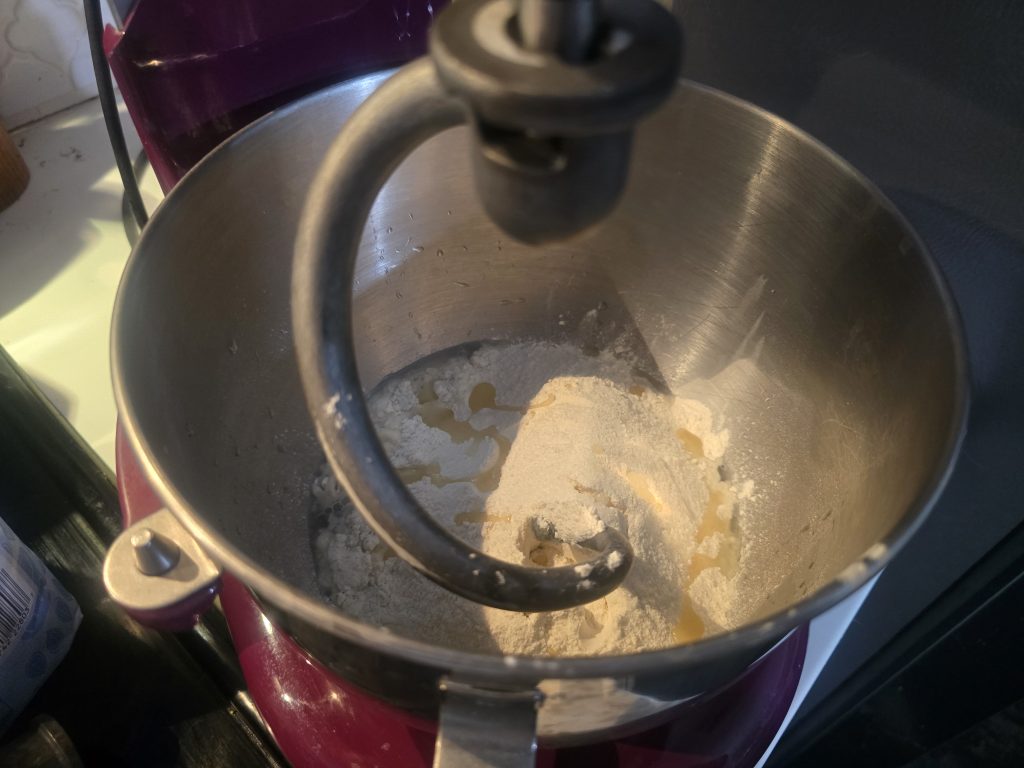
Combine the dough ingredients in a large bowl or the bowl of a stand mixer.
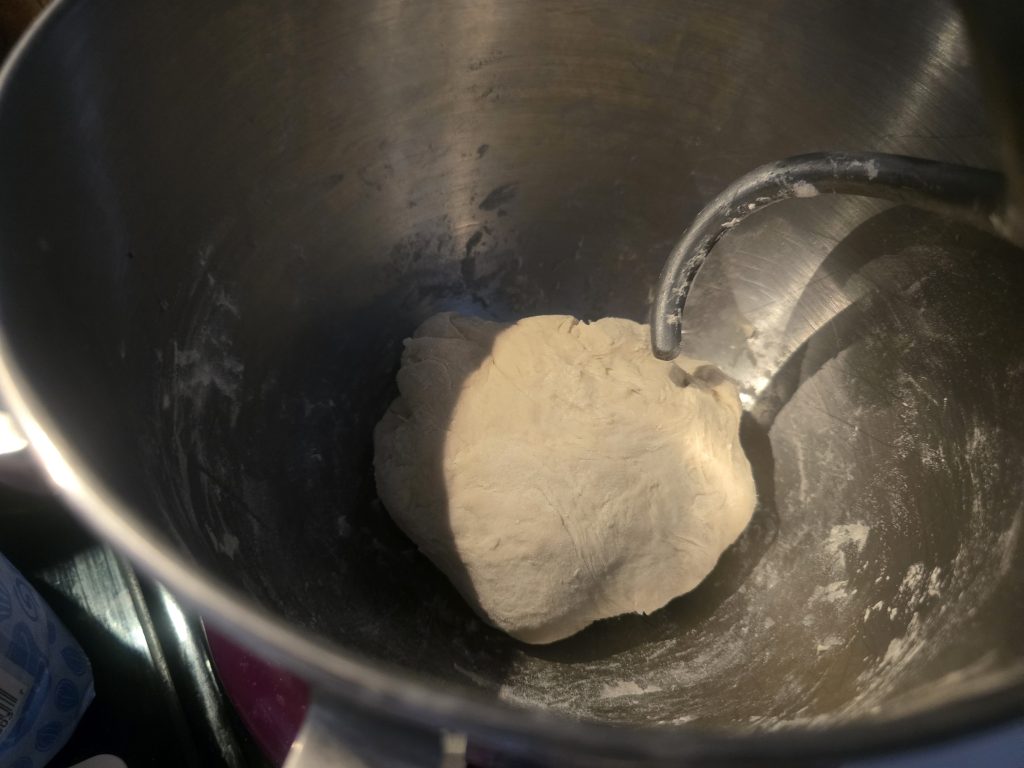
If using a stand mixer, attach the dough hook and mix until the ingredients come together. Continue kneading until the dough becomes smooth and elastic.
You can also knead by hand on a lightly floured work surface. Use the heel of your hand to push the dough away from you, fold it back over itself, and repeat.
A dough scraper is handy for lifting sticky dough from the counter without adding too much extra flour.
Step 2: Let the Dough Rise
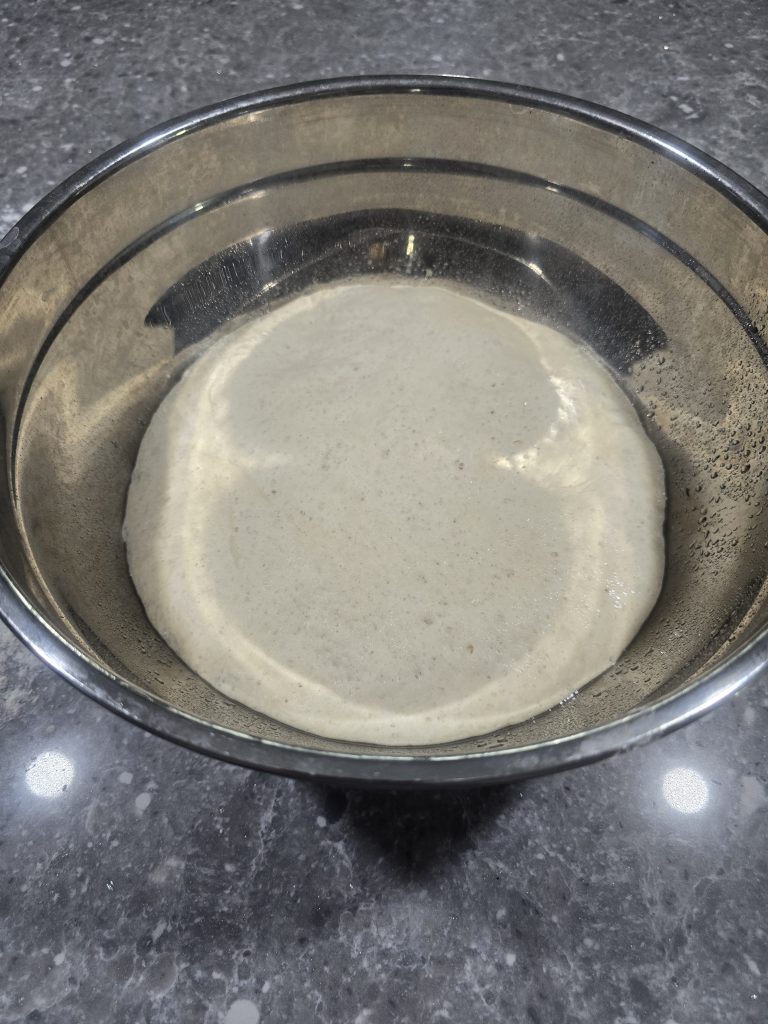
Transfer the dough to a lightly oiled bowl and cover it with plastic wrap or a damp tea towel.
Place the bowl somewhere warm and draft-free until the dough has approximately doubled in size.
Rising time depends on the room temperature. A cool kitchen can slow yeast activity considerably, so pay more attention to the dough’s appearance than the clock.
If your house is chilly, an oven with only the light turned on can sometimes provide a warmer place for rising. Check the temperature before using it.
Step 3: Shape the Rolls
Turn the risen dough onto a lightly floured surface and divide it into equal pieces.
A bench scraper or sharp knife makes dividing the dough easier.
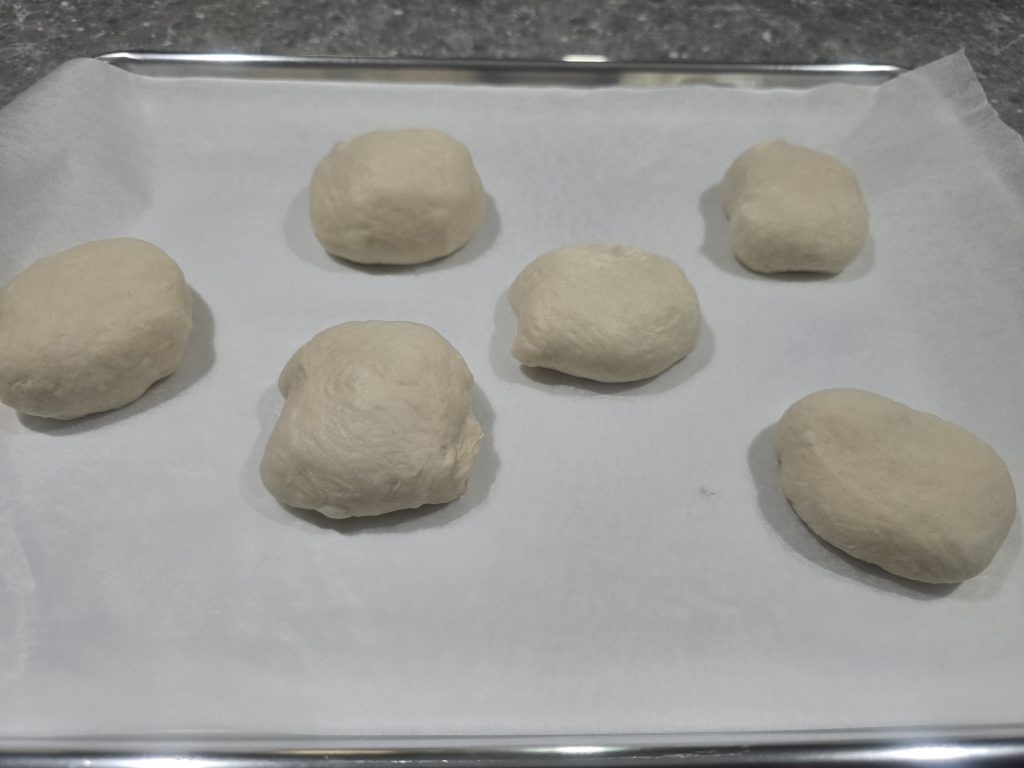
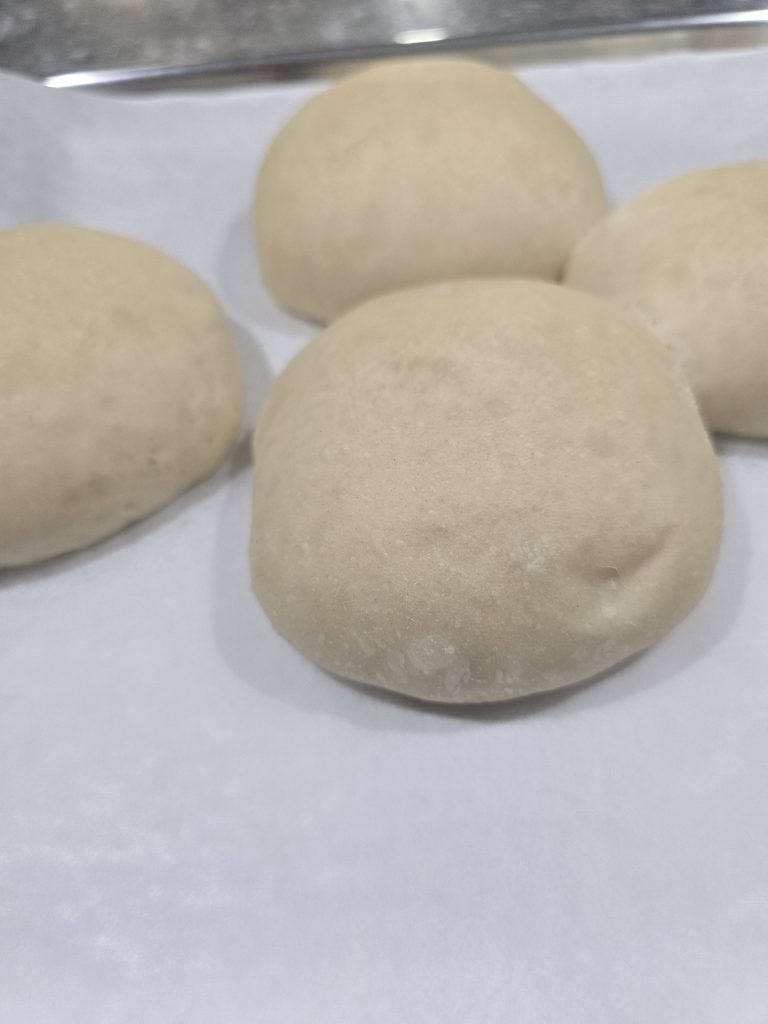
Shape each piece of dough into a smooth ball by gently pulling the edges underneath and creating tension across the top.
Arrange the dough balls on a baking sheet lined with parchment paper, leaving enough space between them to expand.
Step 4: Let the Rolls Rise Again
Cover the shaped rolls loosely and let them rise until noticeably puffy.
This second rise helps create the light, airy interior that makes homemade dinner rolls so delicious.
Avoid rushing this step. Underproofed dough can produce dense rolls with less volume.
Step 5: Score and Bake
Preheat the oven thoroughly before baking.
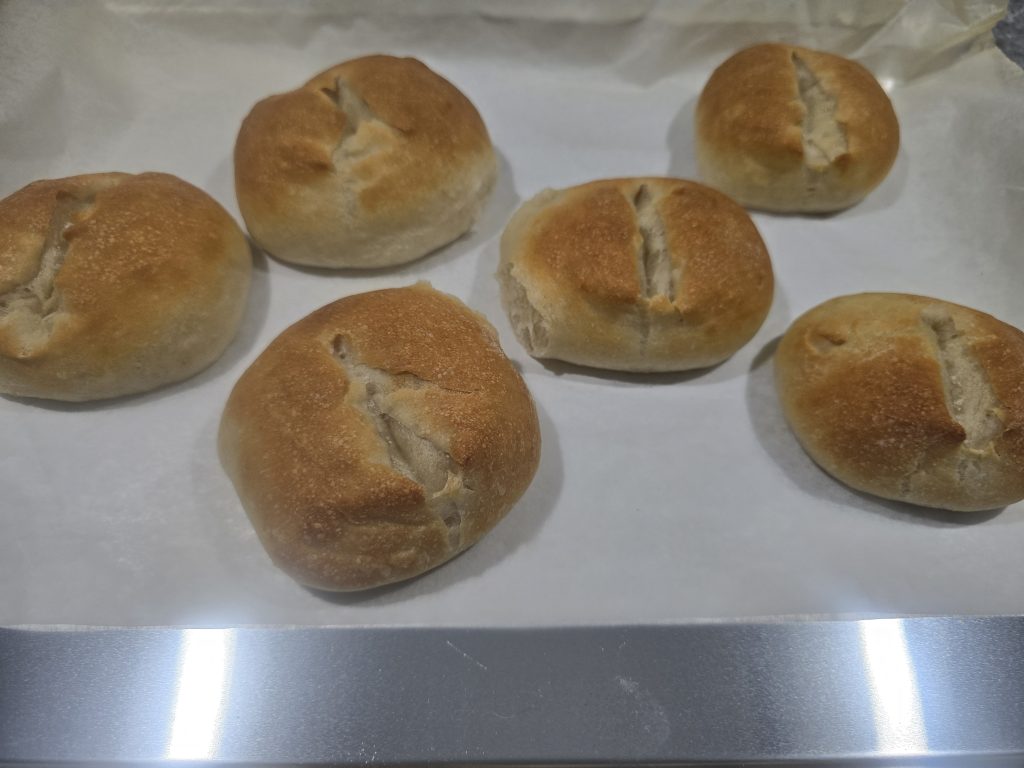
Use a sharp knife or bread lame to score the top of each roll. A clean cut gives the dough room to expand as it bakes.
And when I say sharp, I mean sharp.
I learned that lesson when my dull knife decided to drag through the dough instead of cutting it. Fortunately, the rolls survived my less-than-professional scoring technique and turned out beautifully anyway.
Place a separate baking tray on the bottom rack of the oven and add hot water to create steam.
Bake the rolls until the crust is golden brown and the centers are fully cooked.
My batch took exactly 18 minutes and reached an internal temperature of 207°F.
Transfer the finished rolls to a cooling rack to prevent moisture from collecting underneath them.
Tips for Making This Crusty Bread Rolls Recipe
This crusty bread rolls recipe is forgiving, but a few simple techniques can make the difference between good homemade bread and fantastic homemade bread.
Don’t Add Too Much Flour
Bread dough should be soft and slightly tacky. Adding too much flour during kneading can make the finished rolls dense and dry.
Lightly flour your hands and work surface as needed rather than adding large amounts of extra flour.
Use Steam for a Crispy Crust
Steam is one of the secrets to getting that bakery-style crusty texture at home.
During the first part of baking, moisture helps keep the surface of the dough flexible so the rolls can expand. As the moisture evaporates and baking continues, the exterior becomes crisp and golden.
Give the Dough Enough Time
Yeast dough rises more slowly in a cool kitchen. Depending on the temperature, the first rise may take longer than expected.
Look for visible expansion and a light, airy texture rather than following a rigid timetable.
Let the Rolls Cool Properly
Fresh bread continues releasing moisture after it comes out of the oven.
A cooling rack allows air to circulate around the rolls, keeping the bottoms from becoming soggy.
You don’t have to wait until they’re completely cold to enjoy one, though. Warm homemade bread with butter is one of life’s little pleasures.
What to Serve With Crusty Bread Rolls
These rolls are practically begging to be served with a comforting homemade meal.
They’re especially good alongside Italian sausage and cheese tortellini soup, Instant Pot ham and bean soup, or a plate of creamy pasta.
They also make wonderful little sandwiches. Split a roll in half, add your favorite fillings, and you’ve got an easy lunch.
And if there’s a little sauce left on your plate, these rolls are excellent for making sure none of it goes to waste.
How to Store Homemade Crusty Rolls
Once the rolls have cooled completely, store them in a bread bag or airtight container at room temperature for up to two days.
An airtight container helps prevent the bread from drying out, although the crust may soften during storage.
Avoid refrigerating bread, which generally causes it to stale faster.
Can You Freeze Homemade Crusty Rolls?
Absolutely! Freezing is a great way to keep homemade rolls available for future meals.
Allow the rolls to cool completely, then place them in a freezer bag. Remove as much air as possible before sealing to help prevent freezer burn.
For the best quality, enjoy frozen rolls within two to three months.
You can thaw them at room temperature or warm them in the oven until heated through.
Frequently Asked Questions
Why are my homemade bread rolls dense?
Dense rolls can result from adding too much flour, insufficient kneading, or not allowing the dough enough time to rise.
Make sure the dough is smooth and elastic after kneading, and allow it to become noticeably puffy before baking.
Can I make crusty bread rolls without a stand mixer?
Yes! You can knead the dough entirely by hand.
A stand mixer with a dough hook saves some effort, but hand kneading works just as well when the dough is properly developed.
Can I prepare the dough the night before?
Yes. Refrigerating yeast dough overnight slows fermentation and can help develop flavor.
Cover the dough securely and allow it to finish rising as needed before shaping or baking.
How do I know when crusty rolls are fully baked?
The crust should be golden brown and firm. For extra reassurance, use an instant-read thermometer.
Lean bread rolls are generally fully baked when the center reaches approximately 200–210°F.
How do I make leftover rolls crispy again?
Warm them in a preheated oven for several minutes until the exterior becomes crisp again.
An air fryer toaster oven can also work well for reheating individual rolls. Keep an eye on them so the crust doesn’t become overly dark.
Final Thoughts
This crusty bread rolls recipe proves that homemade bread doesn’t have to be complicated.
With simple ingredients, a little patience, and some steam in the oven, you can make delicious dinner rolls with a golden crust and soft, fluffy centers.
And even if your scoring technique isn’t perfect, don’t worry. Mine certainly wasn’t, and these rolls still turned out absolutely delicious.
I’ll definitely be making them again.
Crusty Bread Rolls Recipe
Equipment
Ingredients
INGREDIENTS
- 2 ½ cups 300 g bread flour
- ¾ cup plus 2 tablespoons 210 g warm water, approximately 105°F
- 1 teaspoon instant yeast
- 1 teaspoon fine salt
- 1 teaspoon granulated sugar
- 1 teaspoon olive oil
Instructions
INSTRUCTIONS
- Mix the dough: Add warm water, instant yeast, and sugar to the bowl of a stand mixer. Add bread flour, salt, and olive oil. Attach the dough hook and mix on Speed 2 until a shaggy dough forms.
- Knead: Continue kneading on Speed 2 for 6–8 minutes until the dough becomes smooth, stretchy, and slightly tacky. Adjust with a teaspoon of water or flour at a time only if necessary.
- First rise: Transfer the dough to a lightly oiled bowl, turning once to coat. Cover with plastic wrap or a clean kitchen towel. Let rise in a warm location, ideally 75–80°F, for 60–90 minutes or until approximately doubled in size.
- Shape: Turn the dough onto a lightly floured work surface. Divide into 6 equal pieces, approximately 85 g each. Shape into smooth, tight balls by pulling the edges underneath and pinching them together. Arrange on a parchment-lined baking sheet.
- Second rise: Cover the rolls loosely and let rise for 30–45 minutes until noticeably puffy. When gently pressed, the dough should slowly spring back.
- Preheat: During the second rise, preheat the oven to 450°F. Place an empty metal baking pan on the lower oven rack and position another rack in the middle.
- Score: If desired, lightly dust the rolls with flour. Use a sharp knife or bread lame to make one shallow slash across the top of each roll.
- Add steam: Place the baking sheet on the middle oven rack. Carefully pour approximately 1/2 cup hot water into the preheated metal pan below. Close the oven door immediately to trap the steam.
- Bake: Bake at 450°F for 18–23 minutes until deeply golden brown and crusty. The internal temperature should reach approximately 200–210°F. My rolls were perfectly baked after 18 minutes at 207°F.
- Cool: Transfer the rolls to a wire cooling rack. Let cool for at least 15–20 minutes before slicing or tearing open.