Homemade English Muffins Recipe (Small Batch of 6)
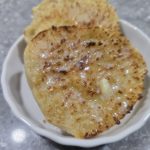
Soft, chewy homemade English muffins with golden-brown crusts, made from scratch without a stand mixer or muffin rings. This easy small-batch recipe makes just six muffins!
If you’ve ever wondered how to make homemade English muffins, you’ll be happy to know that you don’t need any fancy equipment or hard-to-find ingredients.
A mixing bowl, a few pantry staples, and an electric griddle are all you need to get started.
This homemade English muffins recipe makes six muffins, which is a great size for one or two people. You can enjoy a couple fresh and freeze the rest for later.
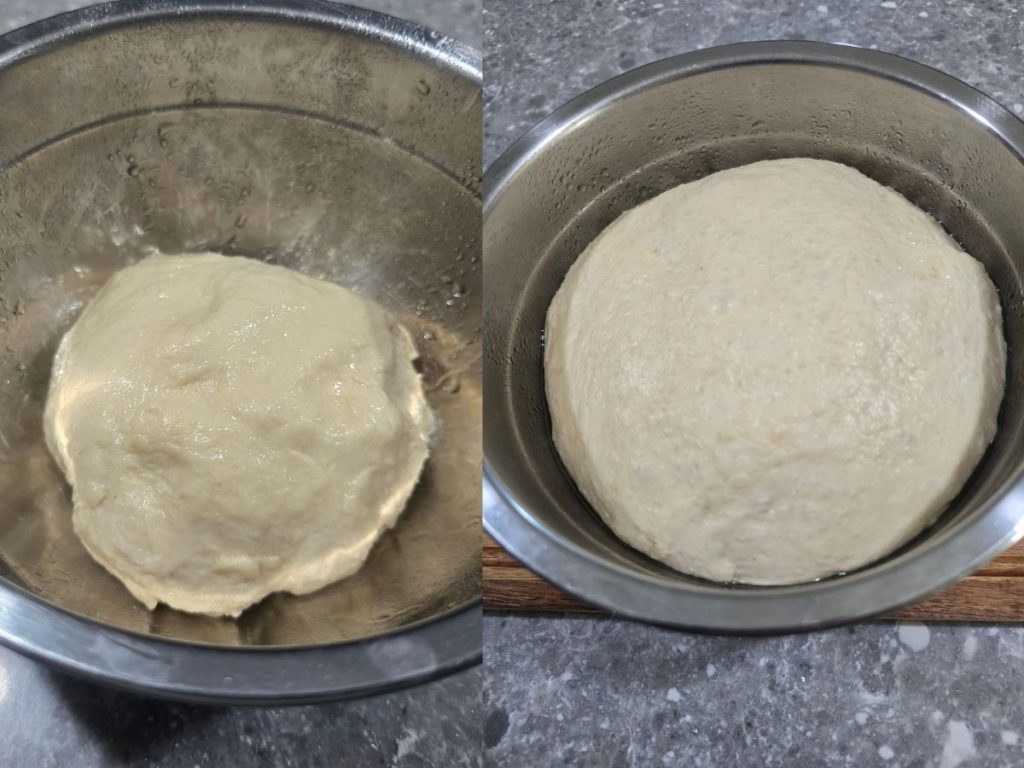
The most important thing I learned while making these? When working with yeast dough, pay more attention to how the dough looks than how long it’s been rising.
And there’s one other lesson worth sharing: A beautifully browned English muffin isn’t necessarily cooked through in the middle. That’s where a fast-read digital thermometer comes in handy!
This homemade English muffins recipe is also perfect for beginners because you’ll learn exactly what to look for as the dough rises and how to tell when the muffins are fully cooked.
Why You’ll Love This Homemade English Muffins Recipe
- Small batch: Makes six English muffins instead of a dozen or more.
- No stand mixer required: Mix and knead the dough by hand.
- No English muffin rings: Shape the dough with your hands.
- Simple ingredients: Nothing unusual or difficult to find.
- Freezer-friendly: Make them ahead and toast them whenever you want.
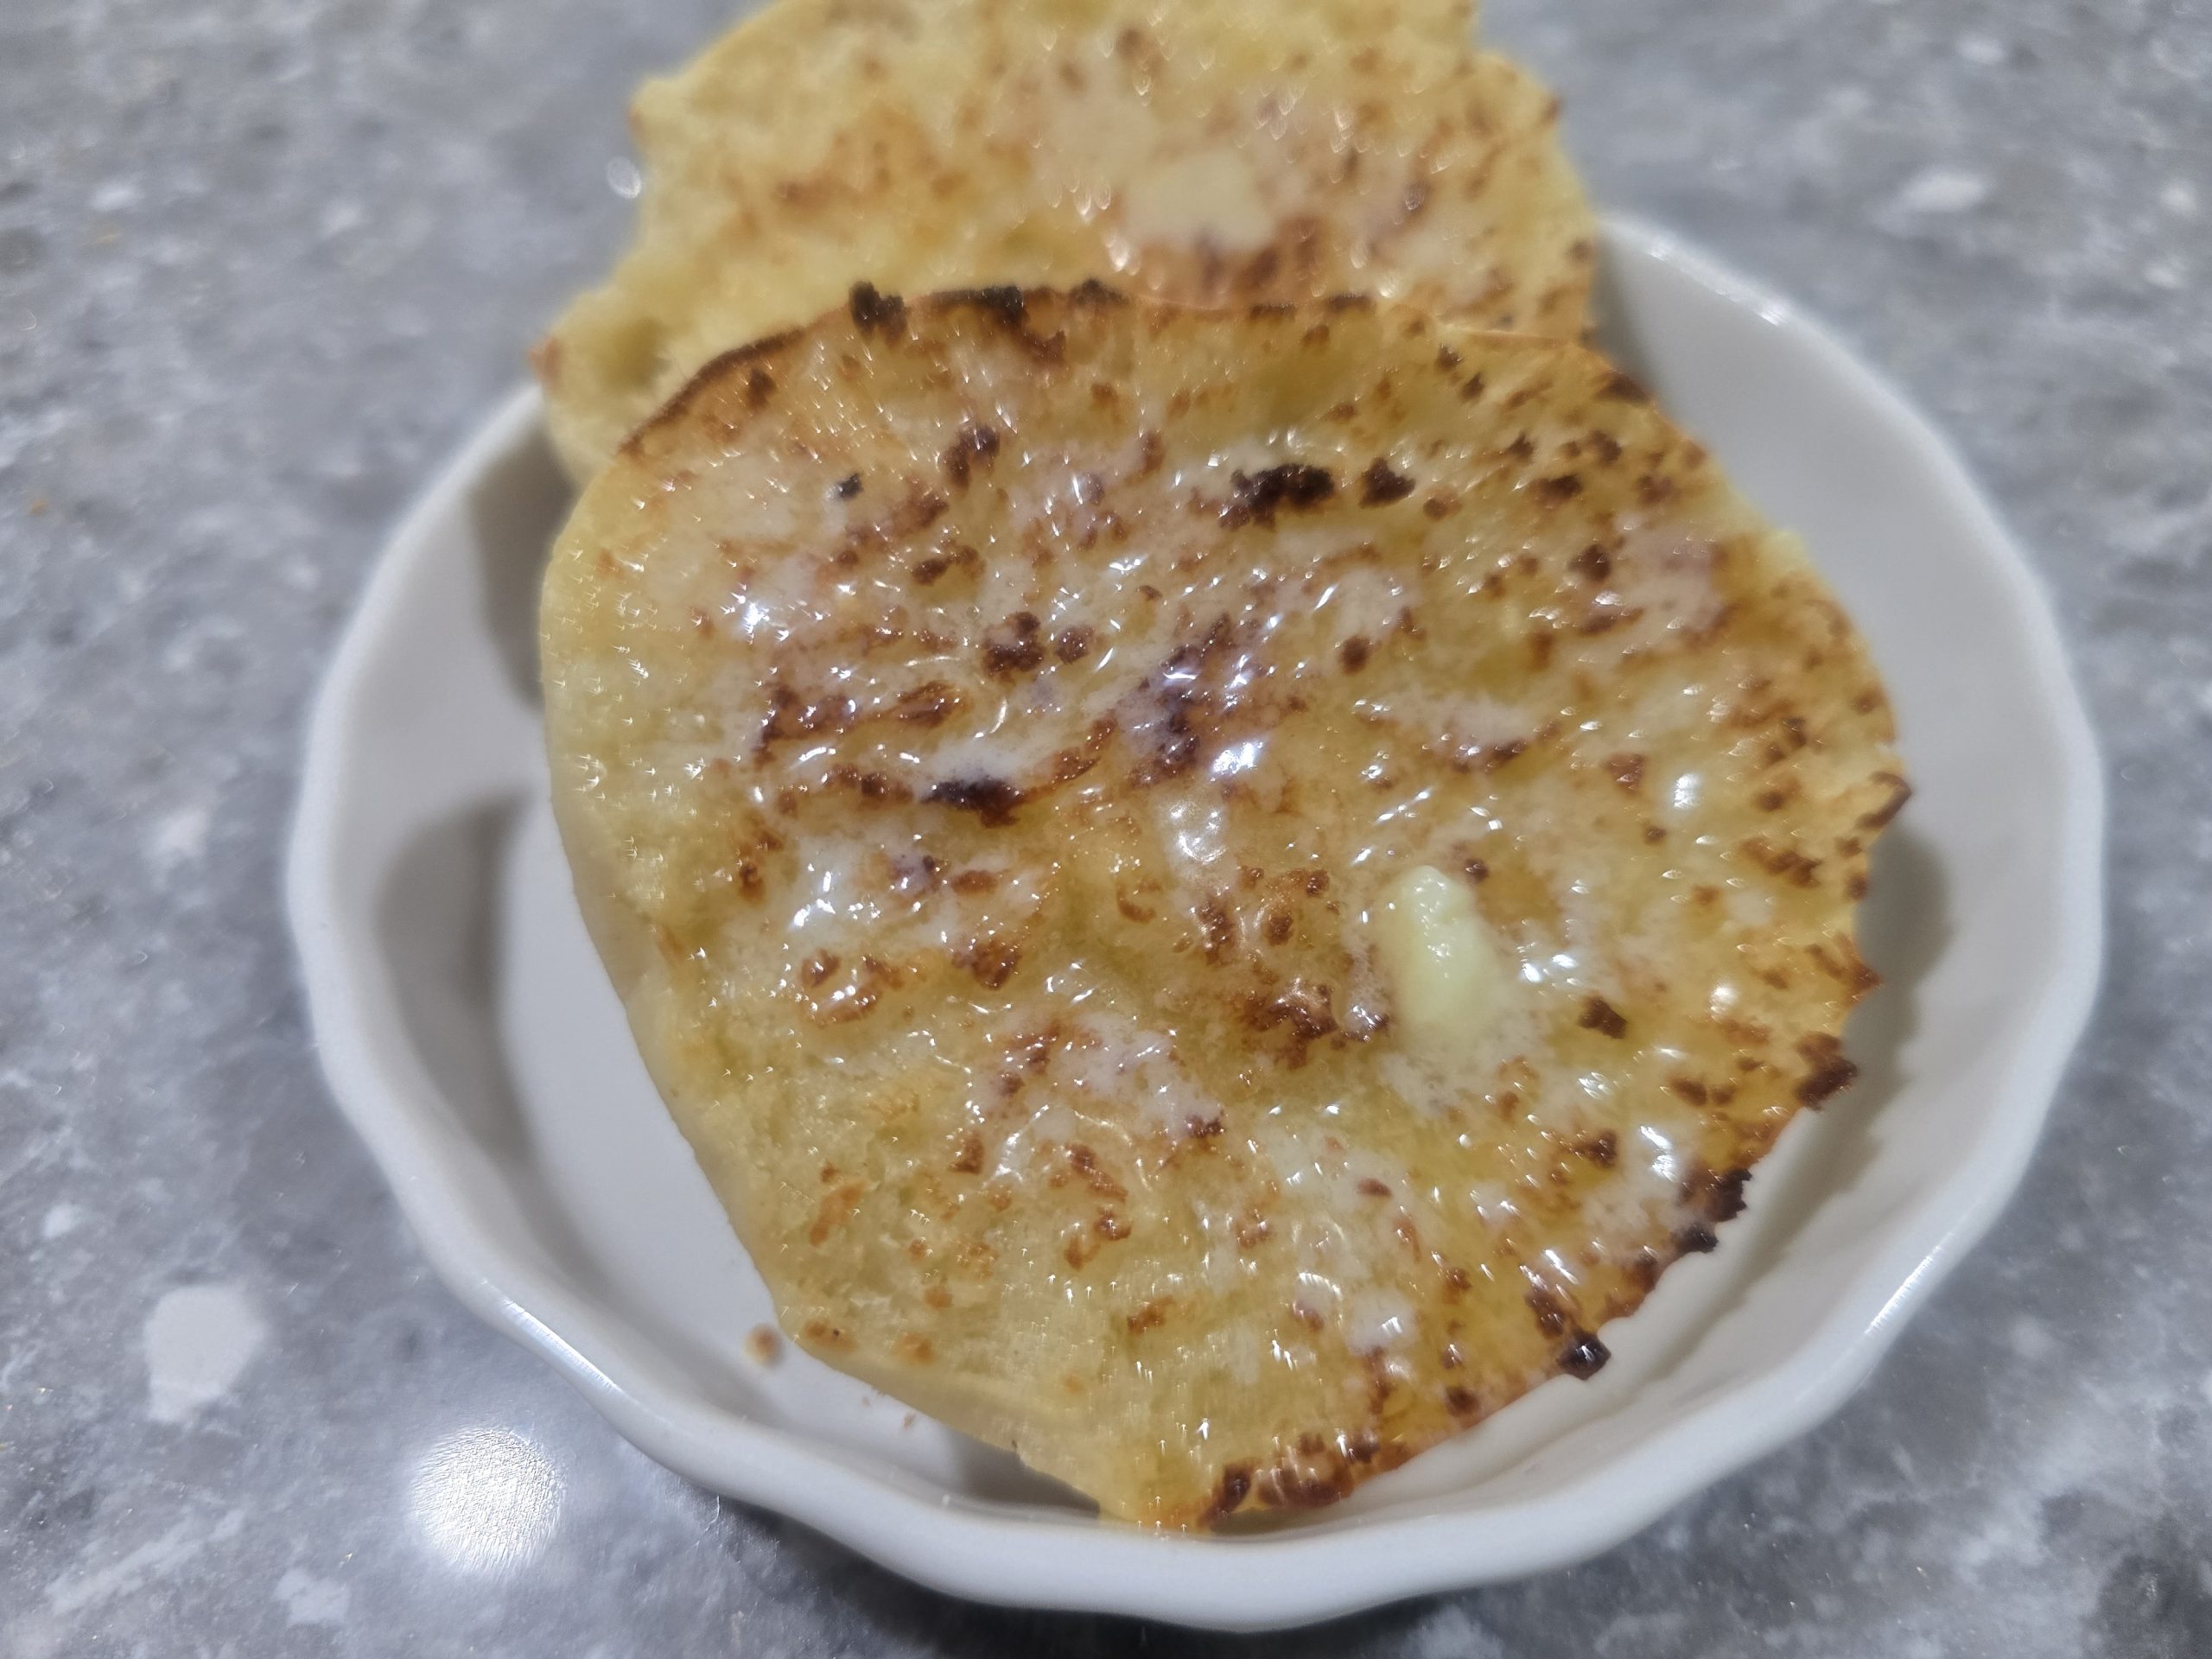
- Delicious toasted: Especially with butter and your favorite jam!
Ingredients for Homemade English Muffins
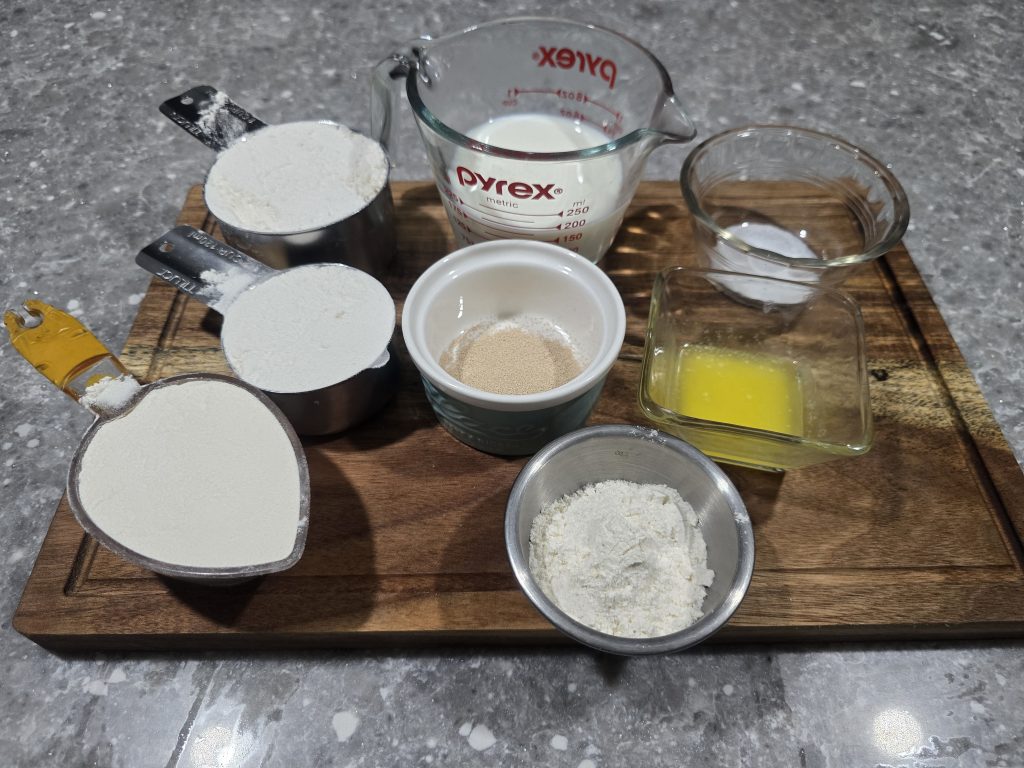
You only need a handful of ingredients to make homemade English muffins from scratch.
All-purpose flour: Provides the main structure of the dough.
Bread flour: Adds a little extra chewiness to the finished muffins.
Warm milk: Adds moisture and richness. Aim for 100–110°F.
Instant yeast: Helps the dough rise without needing to activate it separately.
Granulated sugar: Adds a touch of sweetness.
Salt: Brings out the flavor of the other ingredients.
Unsalted butter: Adds richness and helps keep the muffins tender.
Cornmeal: Gives English muffins their familiar textured exterior and helps prevent sticking.
See the recipe card below for exact ingredient measurements.
Equipment You’ll Need
You don’t need specialized baking equipment to make this recipe.
- Mixing bowl
- Wooden spoon or spatula
- Baking sheet or tray
- Electric griddle
- Fast-read digital kitchen thermometer
- Wire cooling rack
I also used my Cuisinart air fryer toaster oven to finish cooking the muffins after they had browned on the griddle.
How to Make Homemade English Muffins From Scratch
Step 1: Mix the Dough
In a medium mixing bowl, combine the all-purpose flour, bread flour, instant yeast, sugar, and salt.
Add the warm milk and melted, slightly cooled butter.
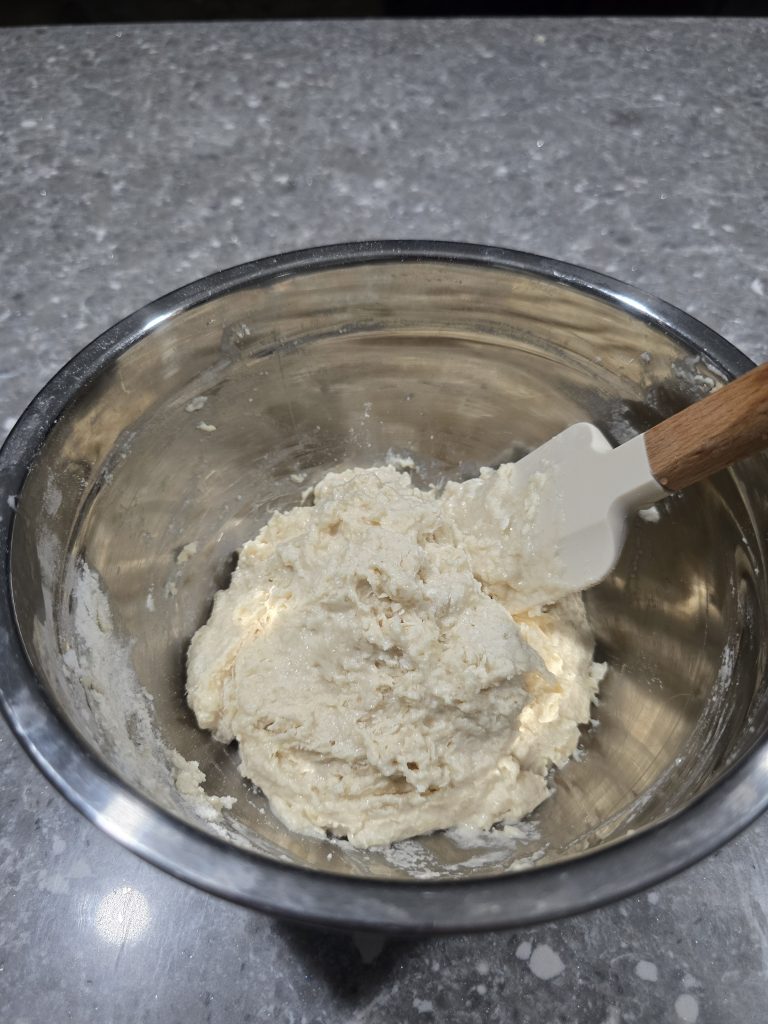
Stir with a wooden spoon or spatula until the ingredients come together into a shaggy dough.
It won’t look perfectly smooth yet. That’s what kneading is for!
Step 2: Knead the Dough
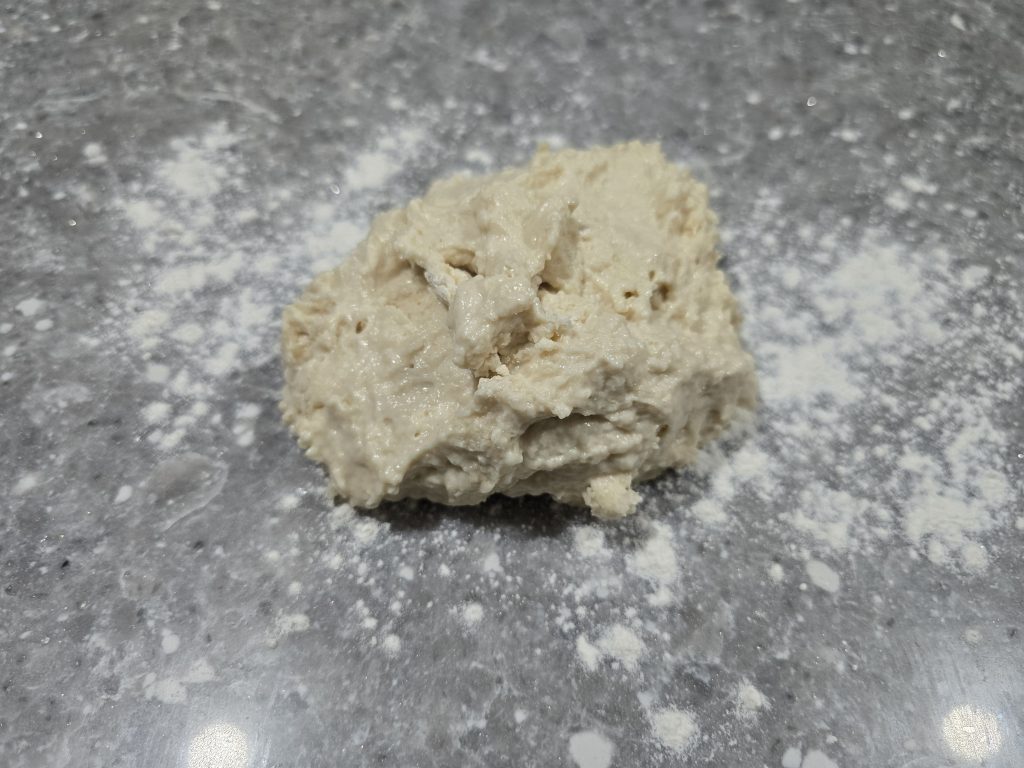
Turn the dough onto a lightly floured work surface.
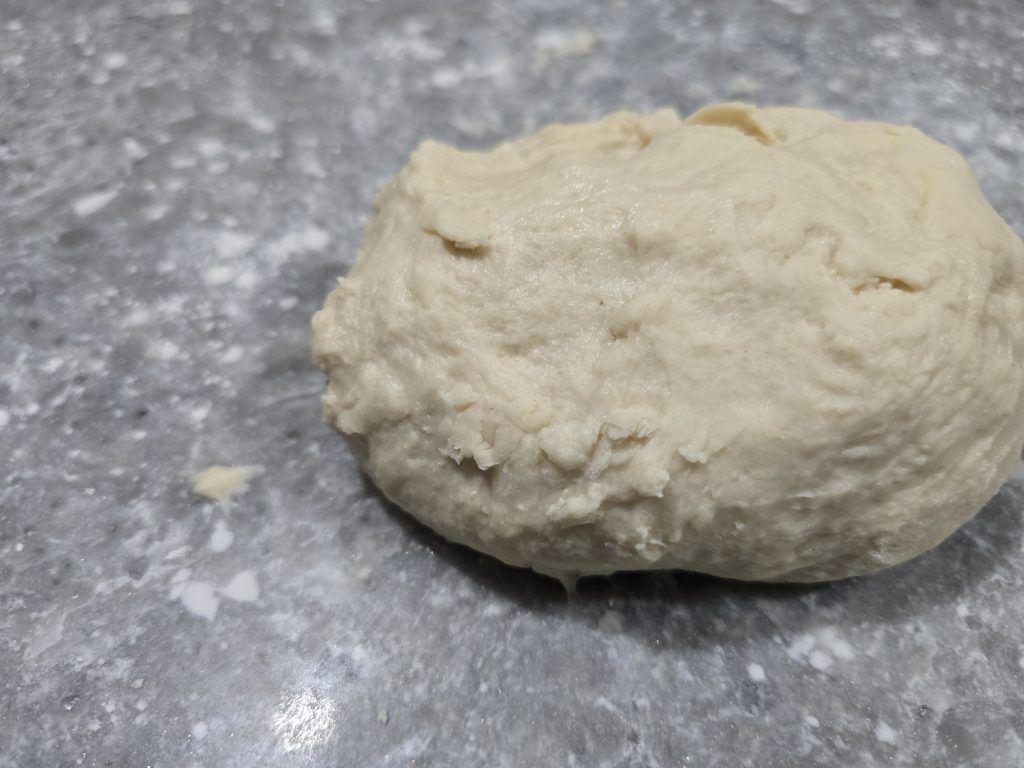
Knead by hand for approximately 8–10 minutes, until the dough becomes smooth and elastic.
The dough should feel soft and slightly tacky, but it shouldn’t stick excessively to your hands.
If necessary, add a small amount of flour while kneading. Avoid adding too much, since that can make the finished muffins dense.
Step 3: Let the Dough Rise
Lightly grease a clean mixing bowl and place the dough inside, turning it once to coat.
Cover with plastic wrap or a clean kitchen towel.
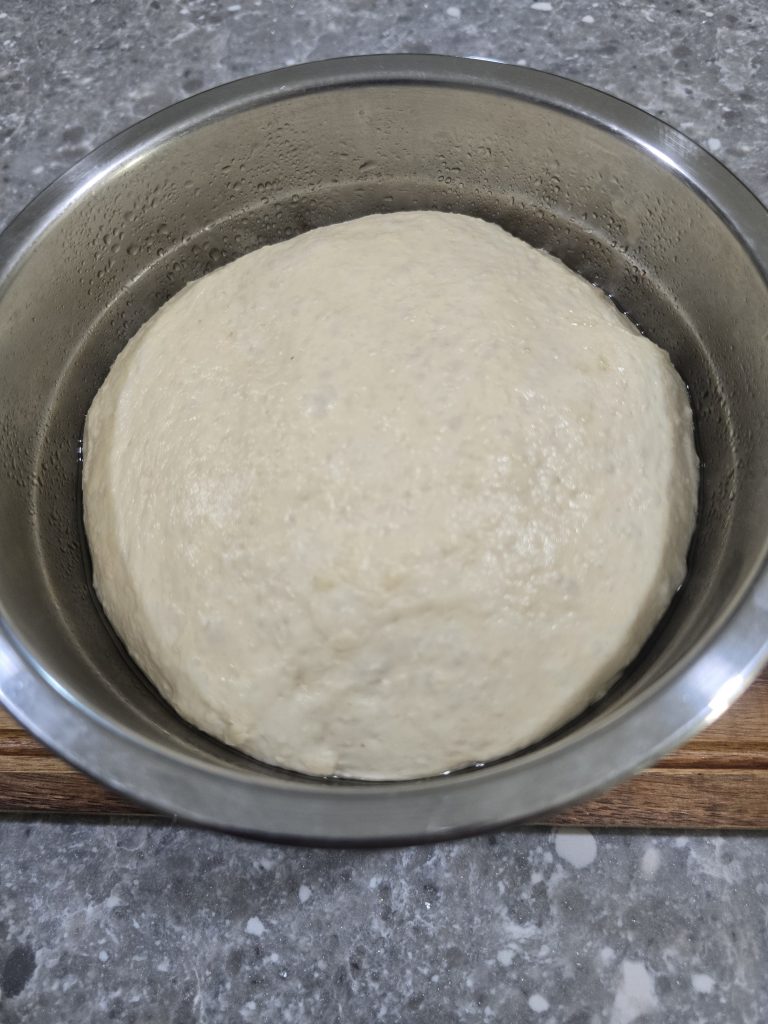
Let the dough rise in a warm, draft-free location until it has roughly doubled in size.
This may take approximately 60–90 minutes, but don’t be surprised if it takes longer.
The dough is ready when it has doubled, not when the timer goes off.
Step 4: Divide and Shape the Muffins
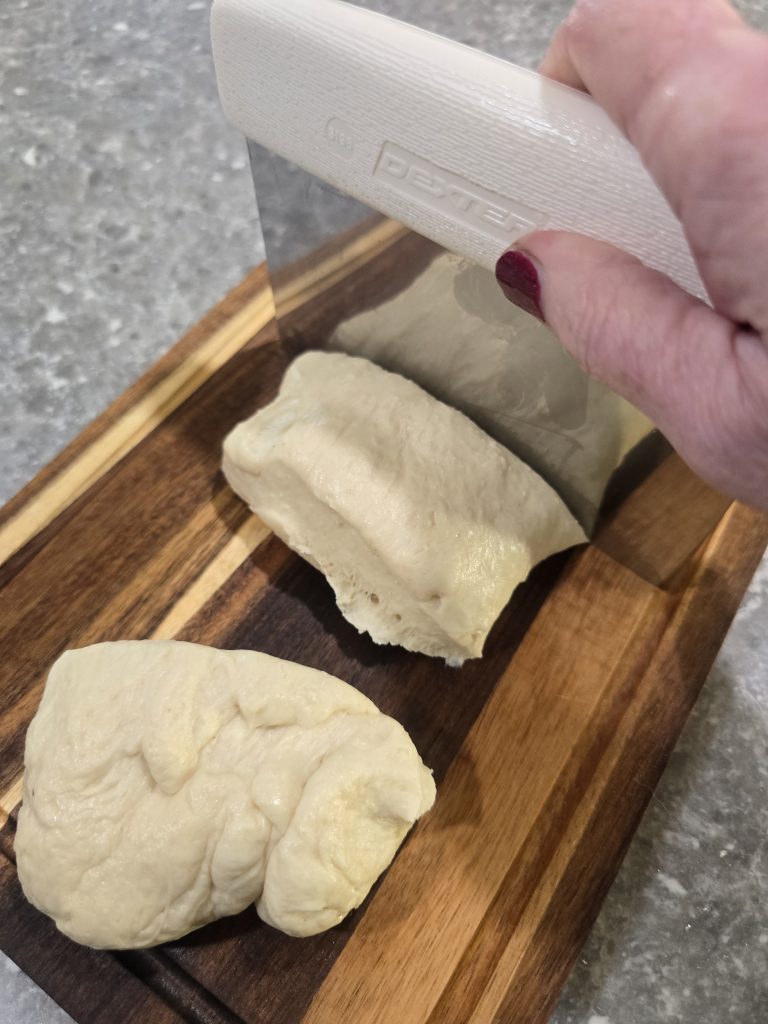
Gently turn the risen dough onto your work surface.
Divide it into six equal pieces.
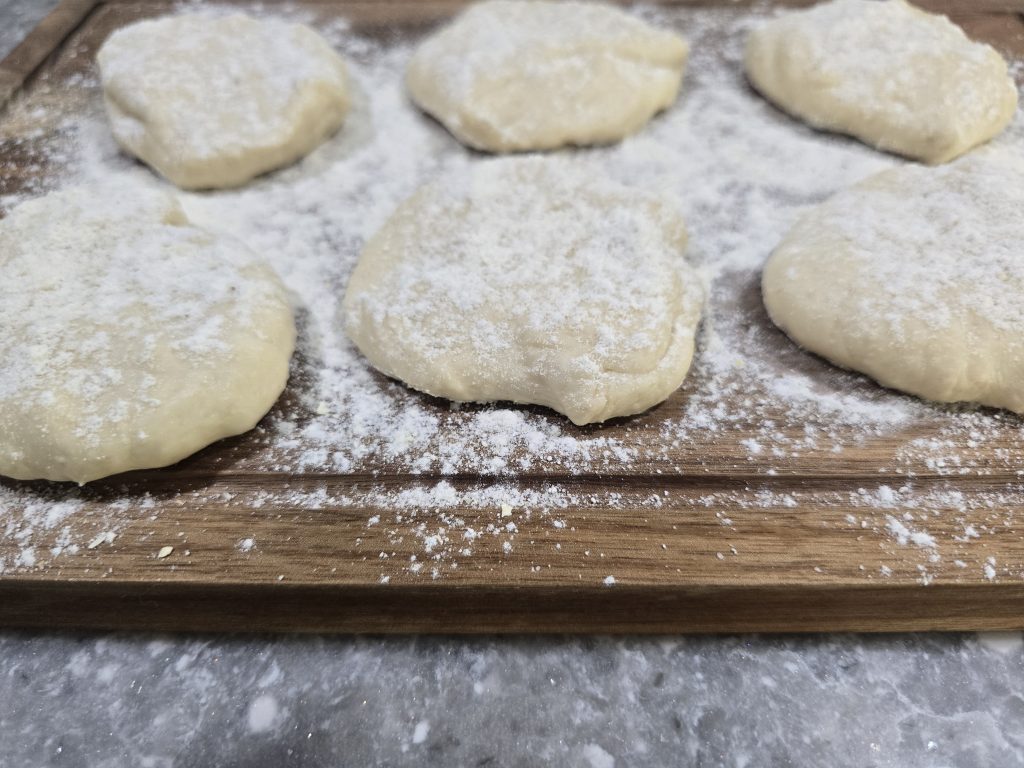
Shape each piece into a smooth ball by tucking the edges underneath, then gently flatten it into a round approximately 3–3½ inches wide and ½–¾ inch thick.
Sprinkle a baking sheet or tray with cornmeal and arrange the shaped muffins on top.
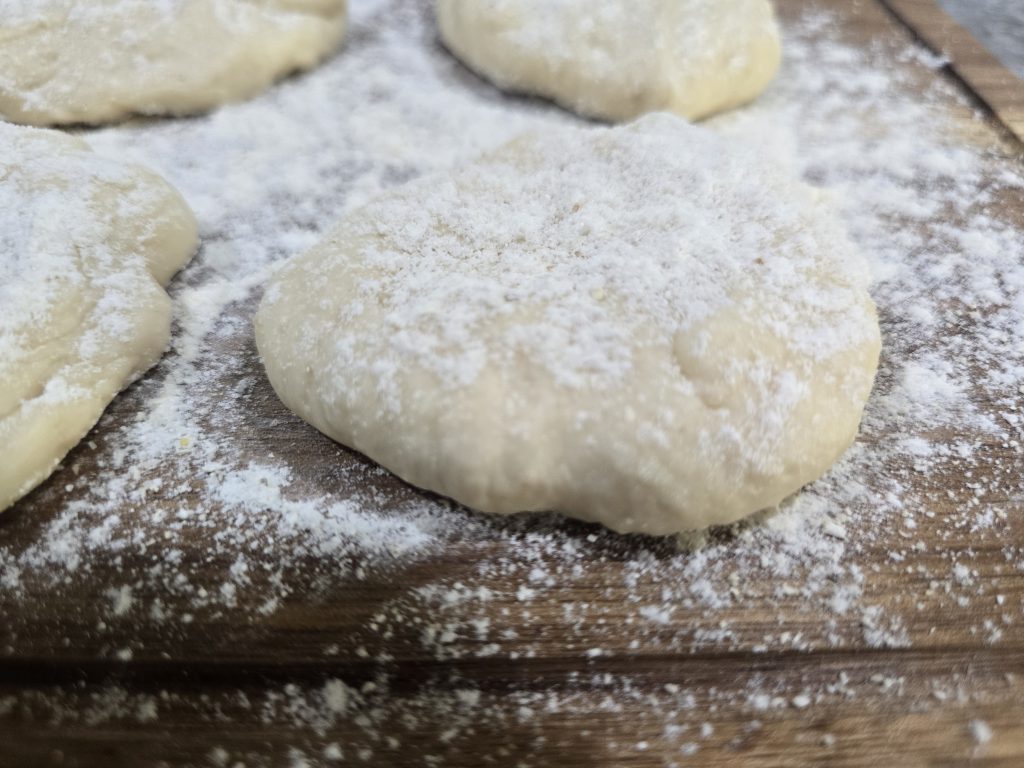
Dust the tops lightly with additional cornmeal.
There’s no need for biscuit cutters or English muffin rings. Shaping them by hand works just fine.
Step 5: Let the English Muffins Rise Again
Cover the shaped muffins loosely with a clean kitchen towel.
Let them rise until noticeably puffy, approximately 20–30 minutes in a warm kitchen.
They don’t need to double in size this time. Look for muffins that have become fuller, softer, and slightly taller.
Watch the Dough, Not the Clock
If there’s one piece of advice I’d give anyone making homemade English muffins for the first time, it’s this:
Rise times are estimates, not deadlines.
Yeast dough doesn’t know what your recipe says.
The temperature of your kitchen, the warmth of your ingredients, and the activity of your yeast all influence how quickly the dough rises.
In a warm kitchen, the first rise might take about an hour. In a cooler kitchen, it could take considerably longer.
Here’s what to look for:
First rise: The dough should roughly double in size and look light and airy.
Second rise: The shaped muffins should become noticeably puffy and feel softer. They don’t need to double.
If the suggested time has passed and your dough hasn’t risen enough, give it more time.
Moving dough to a comfortably warm, draft-free spot can help, but avoid excessive heat.
Good yeast baking is as much about observing the dough as it is about following the recipe.
How to Cook Homemade English Muffins on a Griddle
Unlike most bread recipes, English muffins are traditionally cooked on a griddle rather than baked entirely in an oven.
The griddle creates the familiar golden-brown surfaces while the dough cooks through.
For my first batch, I preheated my electric griddle to 300°F.
The muffins browned beautifully on the first side in approximately six minutes. I flipped them and lowered the griddle temperature to 250°F because I didn’t want the outsides to get too dark.
Here’s where things got interesting.
Even after approximately 15 more minutes at the lower temperature, the centers still weren’t fully cooked.
Rather than keep cooking them on the griddle, I transferred them to my air fryer toaster oven.
Five minutes at 325°F finished the job.
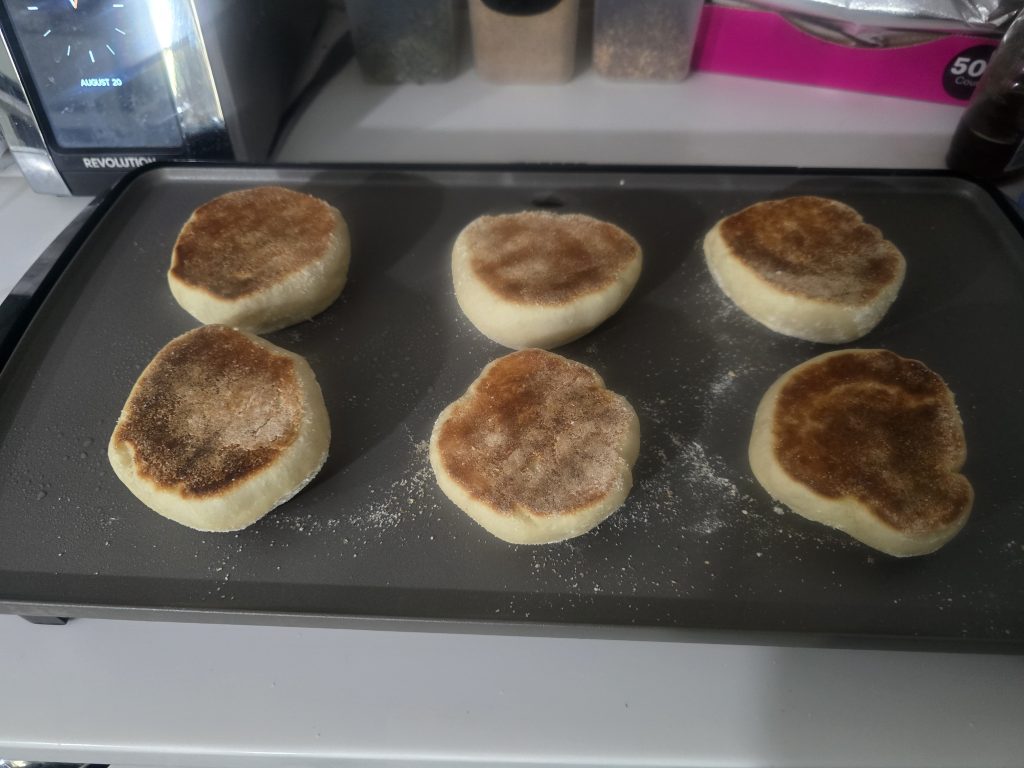
The takeaway? Griddle temperature and muffin thickness both matter, and the outside can brown before the center is finished.
I may experiment with a lower starting griddle temperature in a future batch. For now, the griddle-plus-air-fryer method is the one I’ve actually tested.
What Temperature Should Homemade English Muffins Be Inside?
The center of a fully cooked English muffin should reach approximately 200°F.
And this is where I highly recommend having a fast-read digital kitchen thermometer.
Insert the probe through the side of one of the thicker muffins, aiming for the center.
A fast-read thermometer makes it easy to check whether the muffins are finished without relying on the color of the crust.
During my first batch, one of the muffins was still reading around 178°F even though the exterior looked nicely browned.
That’s a pretty good illustration of why appearance alone isn’t enough!
If your muffins are golden brown but haven’t reached the target temperature, continue cooking them gently or transfer them to the oven or air fryer to finish.
Can You Finish Homemade English Muffins in an Air Fryer?
Yes! In fact, that’s exactly how I finished this batch.
Once the English muffins were nicely browned on both sides, I transferred them to my Cuisinart air fryer toaster oven set to 325°F.
They needed approximately five additional minutes.
This worked especially well because the muffins already had their golden-brown crusts. They simply needed a little more heat to finish cooking in the centers.
If you try this method, check the internal temperature with your digital thermometer. Different air fryers and muffin thicknesses may require slightly different cooking times.
Why Do Homemade English Muffins Puff Up on the Griddle?
You might notice your English muffins getting taller as they cook.
That’s normal!
When yeast dough first heats up, the gases trapped inside expand. The yeast may also briefly become more active before the heat stops fermentation.
This produces a final burst of rising, similar to the oven spring you see when baking bread.
My muffins puffed up noticeably once they hit the griddle, even after their second rise.
How to Get Nooks and Crannies in Homemade English Muffins
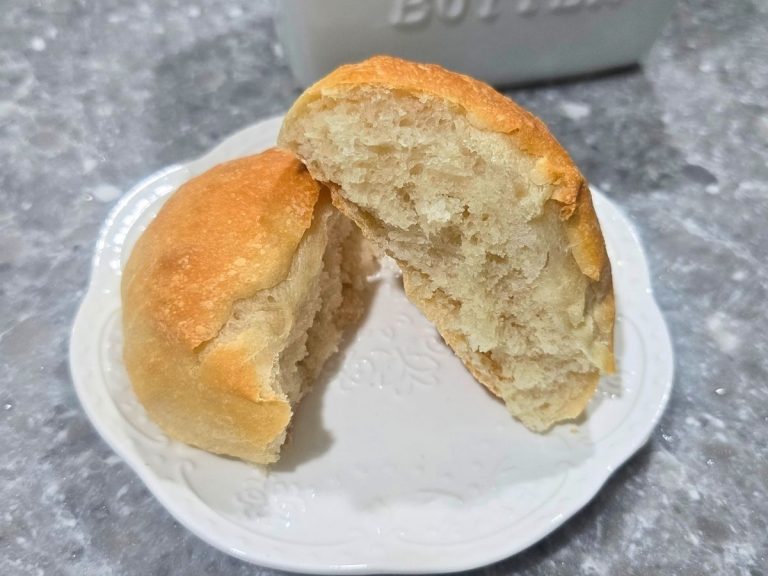
One of the best things about English muffins is their uneven interior, with little pockets that catch melted butter.
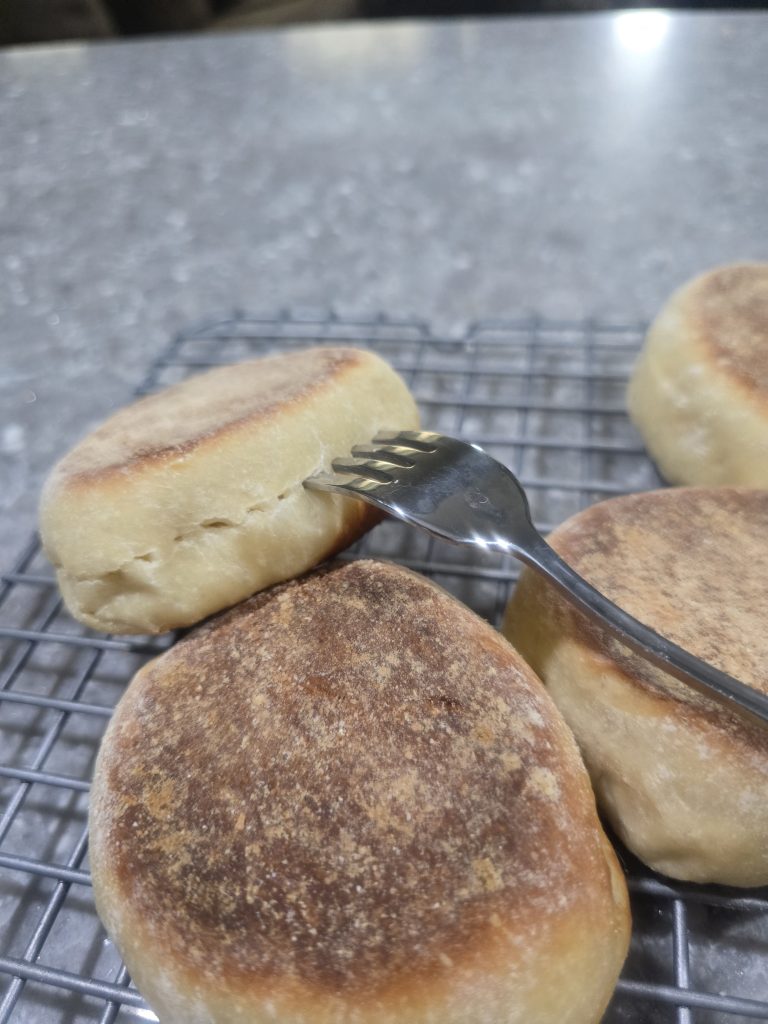
For that traditional texture, use a fork to split the muffins instead of slicing straight through them with a knife.
Poke the fork around the sides of each muffin, working your way around the entire edge.
Then gently pull the halves apart.
This helps preserve the irregular texture inside.
The size and number of air pockets will vary depending on the dough and how it was handled, but fork-splitting gives you that classic English muffin surface.
How to Store Homemade English Muffins
Homemade English muffins don’t contain the same preservatives as many commercially packaged muffins, so proper storage helps keep them fresh.
Allow the muffins to cool completely before putting them away.
Store them in an airtight container or resealable bag at room temperature, away from direct sunlight and heat.
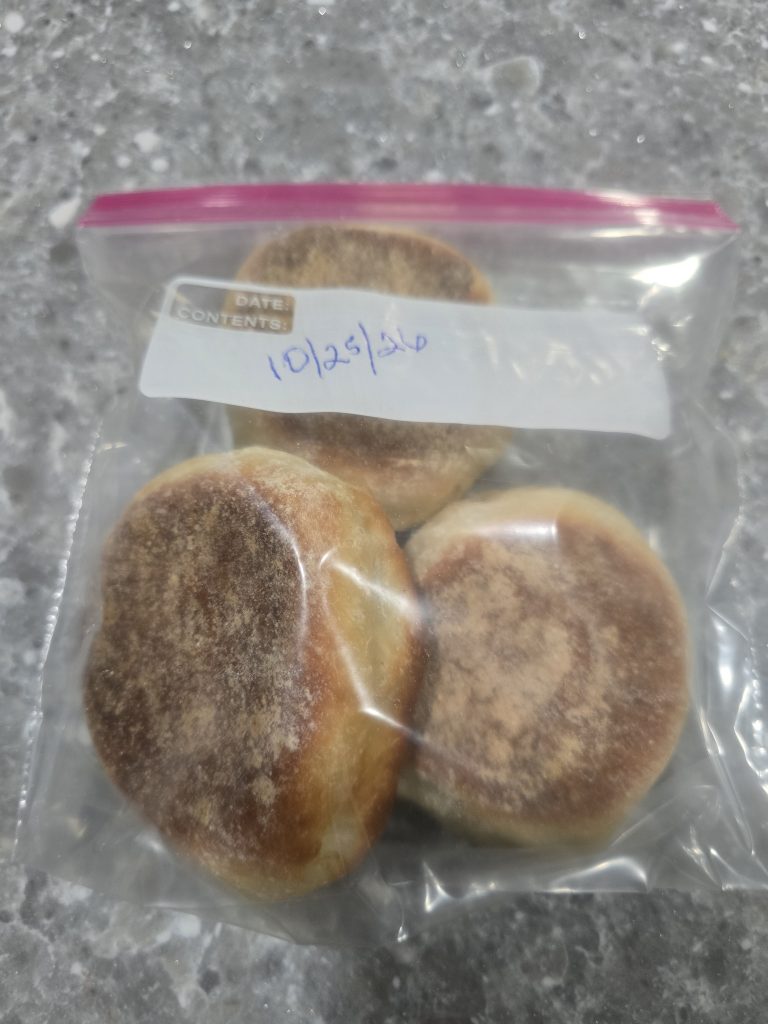
For longer storage, freezing is the best option.
How Long Do Homemade English Muffins Last?
For best quality, plan to eat homemade English muffins within approximately 2–3 days when stored at room temperature.
If you don’t expect to eat all six within that time, freeze the extras once they’ve cooled.
Can Homemade English Muffins Be Frozen?
Absolutely! Homemade English muffins freeze beautifully.
Here’s how:
- Allow the muffins to cool completely.
- Split them first if you’d like them ready for toasting.
- Wrap them individually or separate the halves with parchment paper.
- Place them in a freezer-safe bag or airtight container.
- Remove excess air and label with the date.
For best quality, use frozen English muffins within approximately three months.
How to Toast Frozen English Muffins
If you’ve already split the muffins before freezing, you can toast them directly from frozen.
Simply place the frozen halves in your toaster or toaster oven and allow a little extra time.
You can also thaw them first if you prefer.
Tips for Making the Best Homemade English Muffins
Let the dough rise fully. The appearance of the dough is more important than the suggested rise time.
Don’t add too much flour. The dough should be soft and slightly tacky.
Shape the muffins evenly. Similar thicknesses help them cook more consistently.
Be gentle after the second rise. Avoid pressing the air out when moving the muffins to the griddle.
Don’t rely on crust color. Golden brown doesn’t necessarily mean the center is cooked.
Use a fast-read digital thermometer. It’s an easy way to check for an internal temperature of approximately 200°F.
Use the air fryer or oven if necessary. If the muffins are already browned but need more cooking time, finishing them with indirect heat can help.
Frequently Asked Questions
Are homemade English muffins hard to make?
Not particularly! The dough is straightforward to mix, knead, and shape. The two things that require the most attention are allowing the dough to rise sufficiently and cooking the muffins all the way through.
Can I make homemade English muffins without cornmeal?
Yes. Cornmeal provides the traditional textured exterior and helps prevent sticking, but it isn’t essential to the dough itself. You can use a light dusting of flour instead, although the finished exterior will be different.
Can I bake homemade English muffins in the oven?
English muffins can be baked in the oven, although they won’t develop quite the same traditional griddle-browned surfaces unless they’re browned separately. This particular recipe was tested on an electric griddle with an air fryer finish.
Can I make homemade English muffins with sourdough starter?
Yes, but this recipe uses instant yeast. Sourdough English muffins require adjustments to the ingredients and fermentation times, so I wouldn’t recommend substituting sourdough starter directly without adapting the recipe.
Can I make whole wheat homemade English muffins?
Yes, but whole wheat flour absorbs more liquid and can produce a denser texture. This recipe was tested with a combination of all-purpose flour and bread flour. If you want to experiment, start by replacing a small portion of the all-purpose flour with whole wheat flour.
Why are my English muffins doughy in the middle?
The griddle may be too hot, causing the outsides to brown before the centers finish cooking. Thicker muffins also take longer to cook.
Use a digital thermometer to check the center. If the crust is already brown, finish the muffins in the oven or air fryer rather than continuing to darken the outside.
Looking for another homemade treat? Try my easy strawberry shortcake recipe for two, made with fresh strawberries and whipped cream.
Final Thoughts
Making homemade English muffins takes a little patience, but the reward is worth it.
There’s something wonderful about splitting open a muffin you made yourself, toasting it, and spreading it with butter and jam.
My first batch took a little troubleshooting to get the centers cooked through, but the finished muffins were delicious. I toasted one and topped it with butter and cherry jelly, and it was absolutely worth the effort.
And if you remember just one thing from this homemade English muffins recipe, make it this:
Watch the dough, not the clock.
Homemade English Muffins Recipe (Small Batch of 6)
Equipment
Ingredients
- 1.5 Cups unbleached all-purpose flour
- .5 Cup bread flour
- .75 Cup warm milk 100–110°F
- 1 tsp instant dry yeast
- 1 tbsp granulated sugar
- .75 tsp salt
- 1 tbsp unsalted butter melted and slightly cooled
- 3 tbsp cornmeal for dusting
Instructions
- **Mix the dough.** In a medium mixing bowl, combine the all-purpose flour, bread flour, instant yeast, sugar, and salt. Add the warm milk and melted butter. Stir until a shaggy dough forms.
- **Knead.** Turn the dough onto a lightly floured surface and knead for approximately 8–10 minutes, until smooth and elastic. The dough should be soft and slightly tacky. Add flour only if necessary.
- **First rise.** Place the dough in a lightly greased bowl, turning once to coat. Cover and let rise in a warm, draft-free location until roughly doubled in size, approximately 60–90 minutes or longer if needed.
- **Shape.** Gently turn the risen dough onto your work surface and divide it into six equal pieces. Shape each into a smooth ball, then flatten into a round approximately 3–3½ inches across and ½–¾ inch thick.
- **Dust with cornmeal.** Sprinkle a baking sheet or tray with cornmeal. Arrange the muffins on top and dust lightly with additional cornmeal.
- **Second rise.** Cover loosely and let rise until noticeably puffy, approximately 20–30 minutes in a warm kitchen or longer if needed. The muffins do not need to double.
- **Brown on the griddle.** Preheat an electric griddle to approximately 300°F. Carefully transfer the muffins to the cooking surface without pressing them down. Cook until golden brown on the bottom, approximately 6 minutes.
- **Flip and continue cooking.** Gently flip the muffins. Reduce the griddle temperature if the outsides are browning too quickly. Continue cooking until the second side is browned, checking the internal temperature with a fast-read digital thermometer. The centers should reach approximately 200°F.
- **Finish in the air fryer if needed.** If the muffins are browned but still undercooked inside, transfer them to an air fryer toaster oven at 325°F. Check after approximately 5 minutes and continue cooking if necessary until the centers reach approximately 200°F.
- **Cool and serve.** Transfer the muffins to a wire rack and allow them to cool before splitting. Use a fork to split the muffins for their traditional uneven interior texture. Toast and serve with butter, jam, or your favorite toppings.